
Lighting Effect and Emission Comparisons
A pendant can look brighter in one render while communicating a different design decision in another. One view may show a broad diffuser glow; another may reveal concentrated hotspots, stronger edge response, or more visible room spill.
For a furniture or lighting team, the useful question is not which image looks brighter. It is which visible treatment matches the brief, the intended room context, and the next review decision.
A lighting render comparison can establish appearance under stated scene conditions. It cannot establish measured fixture output, physical light distribution, glare behavior, thermal performance, installation safety, structural adequacy, code compliance, or manufacturability.
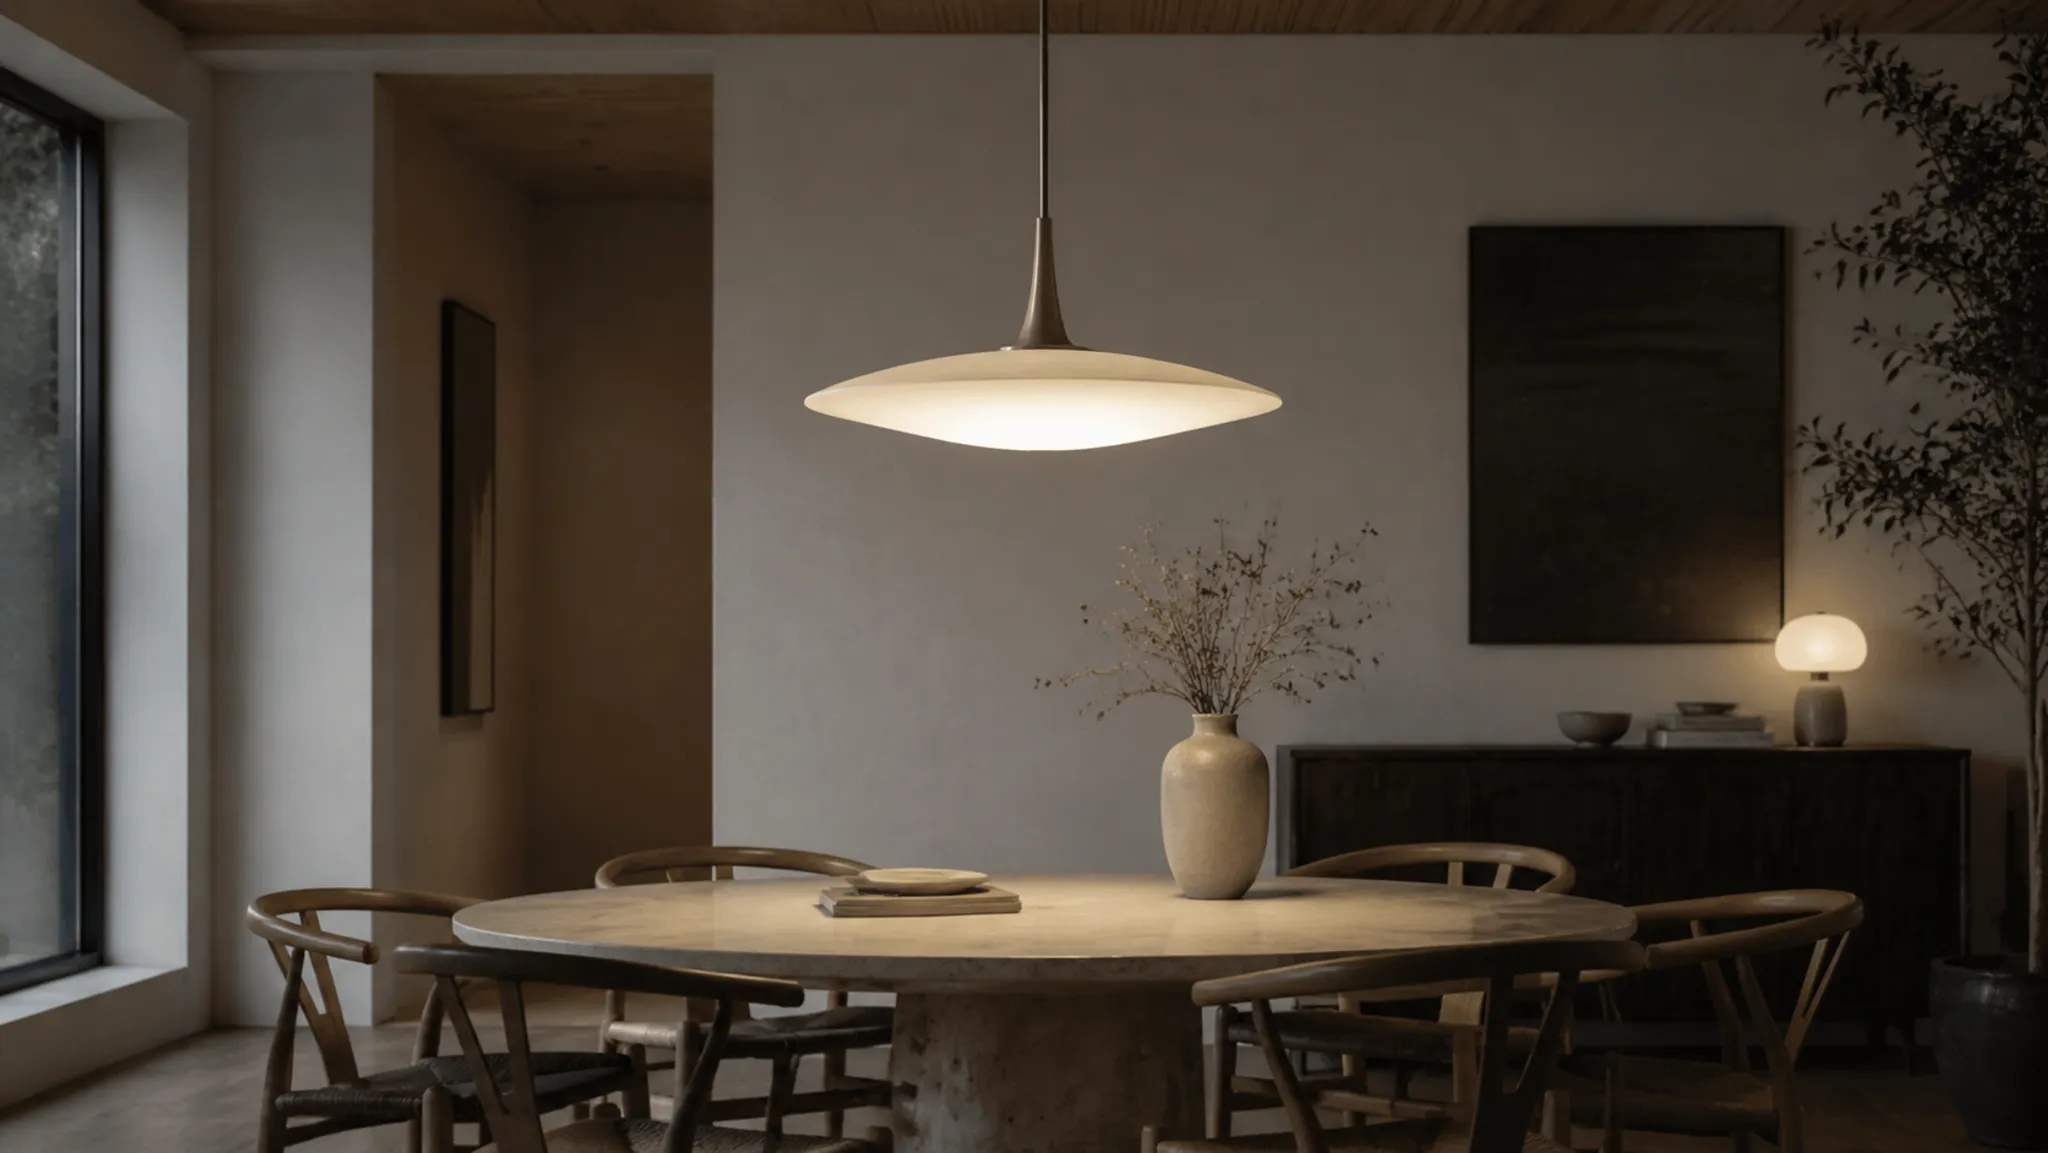
More specific pages
These pages continue the topic in smaller, more specific directions.
What the Comparison Can Show
Start with the visible result before interpreting its cause. A controlled comparison can make differences in the luminous surface, surrounding form, and apparent light entering the room easier to discuss.
- Glow strength across a diffuser or shade
- Glow spread beyond the fixture silhouette
- Hotspot presence and position
- Surface evenness from the selected view
- Edge response around glass, polymer, textile, or other translucent surfaces
- Brightness relative to nearby furniture and room surfaces
- Shadows and visible room spill
- Scale cues from tables, chairs, ceilings, and architectural openings
- Unresolved component placement, such as a visible source, baffle, lens, or internal frame
The render shows a visual result. It may suggest an emission treatment or possible optical arrangement, but the physical cause remains unresolved unless the brief and reference record identify it.
The render shows a broad, low-contrast diffuser glow. It suggests a controlled emission treatment. The optical construction and physical distribution still require confirmation.
That wording keeps the review note useful without treating image realism as performance evidence.
Diffuser Glow and Hotspots Are Different Cues
Diffuser glow describes the apparent luminous area across a translucent or light-emitting surface. A broad glow can make the fixture read as a continuous surface rather than a visible collection of internal sources.
A hotspot is a concentrated bright area or visible source pattern within that surface. It may appear as a dot, band, local patch, or stronger region near an edge or internal component.
A render can show one without the other. It can also show both: a generally glowing diffuser with several concentrated bright regions.
Compare the visible pattern
Use the same camera, framing, exposure treatment, and room context when comparing directions. Then record the difference against named criteria.
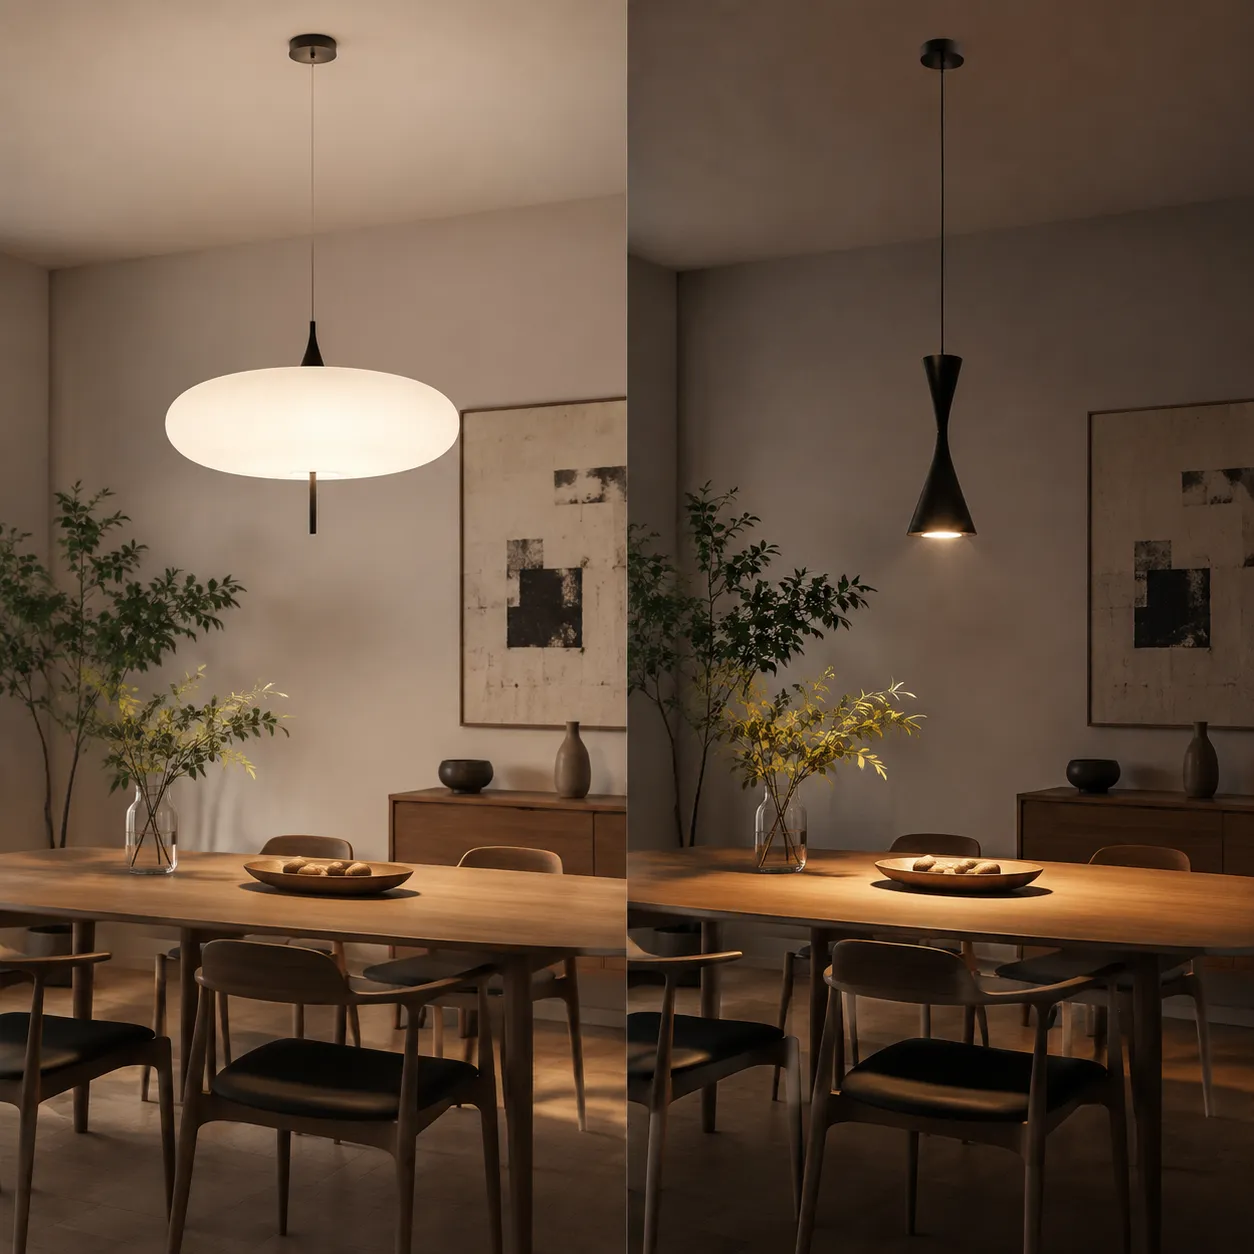
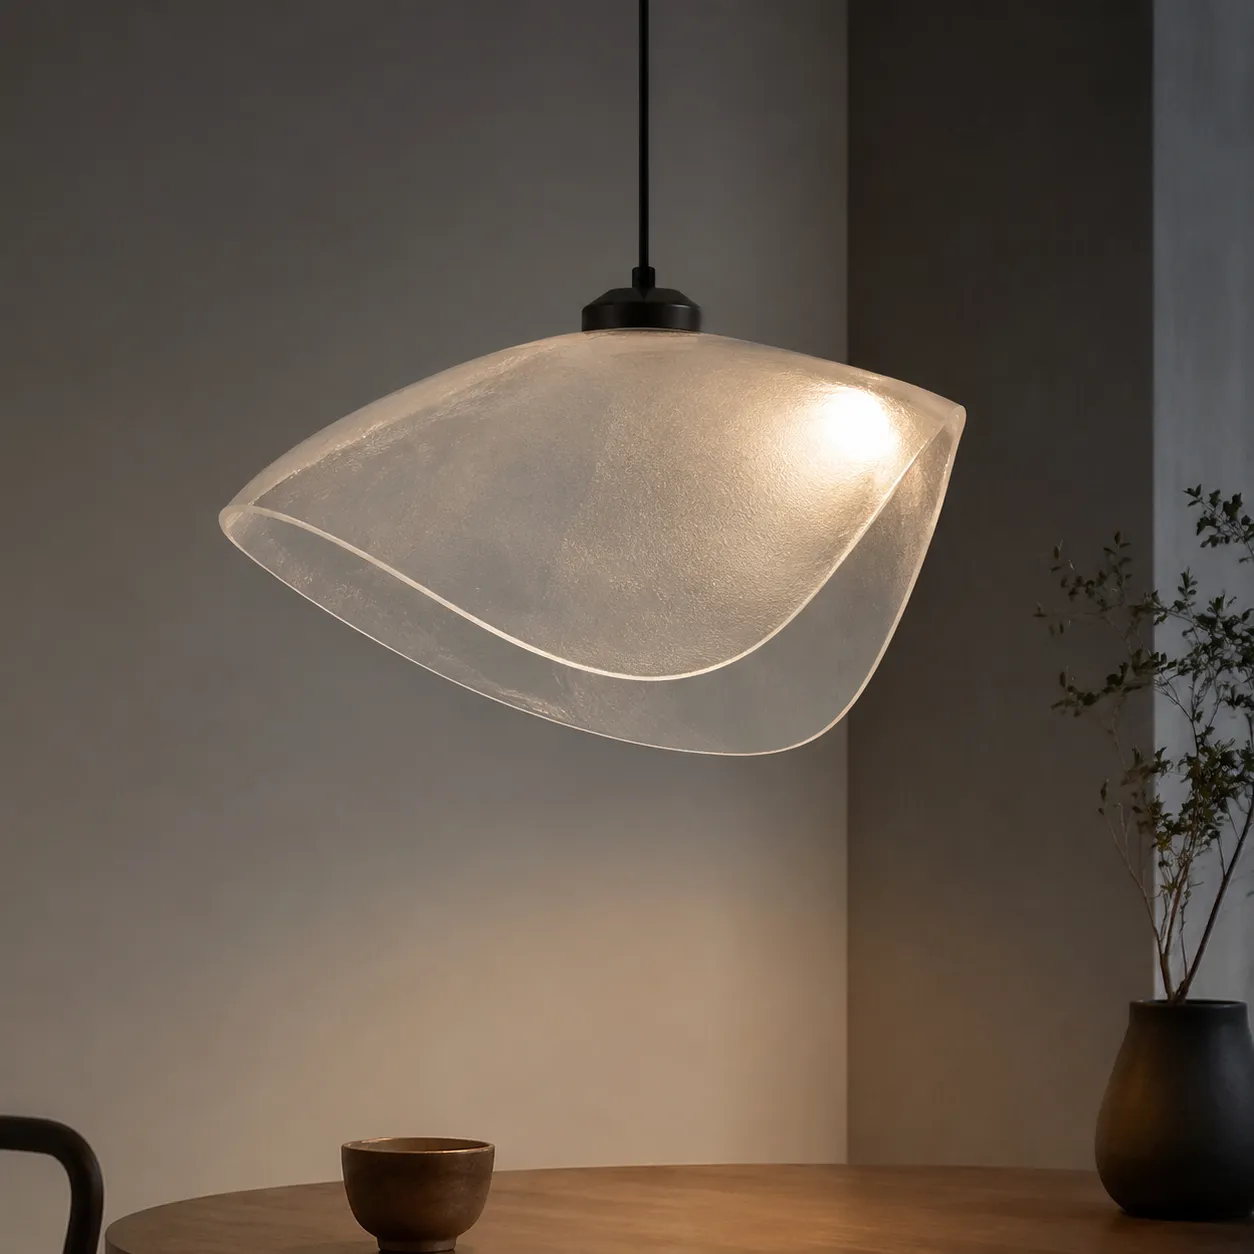
| Review criterion | Direction A: broad glow | Direction B: visible hotspots |
|---|---|---|
| Surface reading | The diffuser reads as a continuous luminous plane. | The source pattern becomes part of the surface reading. |
| Component visibility | Internal placement remains visually quiet. | LED packages, strips, lenses, or baffles may be implied or exposed. |
| Edge response | The perimeter may appear softly controlled. | Brightness may gather near corners, seams, or bends. |
| Room spill | The scene may read with broad, restrained illumination. | Local brightness may draw attention near the fixture. |
| Product character | The object may feel more integrated and quiet. | The object may communicate a more technical or exposed construction. |
| Follow-up need | Request diffuser and optical-construction references. | Confirm source placement, spacing, cover, and viewing-angle intent. |
These are visual comparison criteria, not manufacturing conclusions. A smooth diffuser in a concept image does not establish uniform diffusion in the finished product. A hotspot does not identify its physical cause by itself.
Record hotspot position
“Too bright” is a weak review note. Mark where the concentration appears:
- At the centre of a pendant shade
- Along a linear source
- Near a diffuser seam or frame
- Behind a perforation or patterned screen
- At a bend, corner, or shallow section
- Around a visible lens or internal reflector
- Only from one camera angle
Position changes the next request. A central hotspot may call for a source-placement reference. An edge hotspot may call for a sectional drawing or material sample. A repeated dot pattern may require confirmation of source spacing and cover treatment.
Visible Emission Versus Fixture Output
An emission shader can represent a light-emitting surface in a render. In a concept workflow, that makes it useful for comparing glow, apparent brightness, and the visual relationship between a fixture and its room.
The rendered emission remains an image treatment. It is not a measurement of lumens, illuminance, efficiency, energy behaviour, or physical fixture output.
Review comments such as “stronger light” or “more output” can refer to several different observations:
- A brighter diffuser surface in the image
- More visible light on nearby walls or furniture
- A larger apparent luminous area
- Higher contrast against the room
- A different exposure or tone-mapping decision
- A claim about physical output that the render cannot establish
Rewrite ambiguous feedback into observable language. For example:
Increase the apparent diffuser glow while keeping the pendant silhouette and room contrast unchanged.
If the decision concerns output or distribution, request the relevant photometric record or technical documentation. Those records belong to a separate evidence layer from visual appearance.
Glow Strength, Spread, and Room Spill
A pendant-light render comparison should keep the fixture in its setting. The room establishes scale, contrast, reflection, and the visual consequence of the emission treatment.
Glow strength
Glow strength is the apparent intensity of the luminous surface within the image. Compare it against fixed scene references:
- The nearby ceiling brightness
- The lightness of the table surface
- The visibility of internal structure
- The contrast between the fixture and its background
- The amount of visual attention pulled toward the source
A stronger glow may support a presentation image where the fixture needs to read from a distance. It may also obscure material, component placement, or form detail. The appropriate direction depends on the image purpose.
Glow spread
Record spread in spatial terms rather than relying on a general impression:
- Across the full diffuser or only around the source
- Beyond the lower opening or within the shade
- Across the tabletop or mainly onto the central area
- Onto adjacent walls, ceiling, or floor
- Consistent around the form or limited to one visible side
The render can compare these appearances. It cannot establish the physical angular distribution of the luminaire.
Room spill
Room spill helps the team judge whether the fixture has enough visual presence in a residential, hospitality, retail, or commercial context. It remains sensitive to scene assumptions, including surface roughness, wall colour, camera exposure, surrounding fixtures, and room selection.
Keep the comparison set stable. If the room changes, label the result as a separate context comparison rather than a direct emission comparison.
How to Discuss Diffuser Uniformity
Uniformity is often used loosely in visual reviews. A render may appear smooth because the image has limited detail, the source is intentionally simplified, or the diffuser is represented with a broad emission treatment.
Use narrower, view-specific language:
- The visible surface reads as even from this camera angle.
- A brighter region remains near the upper frame.
- The side panel appears less luminous than the front panel.
- The rendered surface does not reveal a repeated source pattern.
- Uniformity from other views remains unresolved.
Research on non-uniform luminance and external testing of LED luminaires can help define why visible source variation matters. It does not turn a concept render into a formal glare or luminance-uniformity result.
When the comparison concerns a finished diffuser, request the record that answers the unresolved question:
- A material or diffuser reference
- A section showing internal source placement
- A view from the intended user position
- A record of the intended optical treatment
- Photometric or laboratory documentation when measured behaviour matters
The image supports a visual approval note. Additional records support a technical decision.
When Two Renders Are Not Comparable
A comparison loses value when inputs change without being recorded. Before judging emission or hotspot behaviour, check whether both views share:
- Camera position and lens
- Fixture scale, placement, and orientation
- Room geometry and surface finishes
- Exposure and colour-management treatment
- Background brightness
- Surrounding light sources
- Visible component placement
- Material and diffuser assumptions
A different camera can make the same diffuser look more or less even. A darker wall can make identical glow appear stronger. A changed fixture angle can expose a hotspot hidden in the first view.
When conditions differ, do not label the result a direct lighting render comparison. Identify it as a room-context, form, or presentation comparison and state which inputs changed.
A Review Workflow for Pendant-Light Renders
1. Define the comparison question
Start with one decision unit:
- Should the diffuser read as continuous or source-revealing?
- Should the pendant create broad visual presence or restrained local glow?
- Is the collection direction integrated or technically exposed?
- Does the fixture retain its form when emission is increased?
- Is the image for silhouette review, material review, or lighting mood?
A brief requesting “more realistic light” leaves too much unresolved. Name the visible change instead.
2. Fix the comparison view
Use a consistent view for the first comparison. Keep fixture position, room context, and image treatment stable enough that glow strength and hotspot presence can be judged together.
Add another view only when the first hides an important dependency, such as a side diffuser, lower opening, rear component, or connection point.
3. Record visible evidence
Write observations before recommendations:
- The front diffuser reads as a broad luminous surface.
- A concentrated band appears near the upper edge.
- Room spill reaches the wall behind the pendant.
- The internal source is not visible from this angle.
- The lower opening remains visually dark.
- Fixture scale is difficult to judge without furniture nearby.
4. Separate observation from inference
Classify each note as visible, specified, suggested, or unresolved.
Visible: The diffuser has a broad glow with no obvious source dots.
Specified: The brief calls for a quiet, continuous surface.
Suggested: The current treatment supports that direction.
Unresolved: Diffuser construction and physical uniformity require confirmation.
5. Issue the next handoff
Match the request to the unresolved question:
- Material sample for translucency, sheen, or surface response
- Section or component drawing for internal placement
- Photometric file or technical record for output and distribution
- Specialist review for glare, installation, thermal, structural, or compliance questions
- Rights and reference record for externally sourced visual direction
- Additional room view for scale and context review
The render records the intended visual direction. It does not replace discipline-specific evidence.
Common Mix-Ups
“Brighter” means higher output
It may only mean higher apparent brightness in the image. Ask whether the requested change concerns the diffuser surface, room spill, contrast, or measured fixture output.
A smooth diffuser proves uniform diffusion
It does not. The image may hide source spacing, material variation, internal baffles, or view-dependent behaviour.
A hotspot identifies the optical construction
It does not. A hotspot is a visible cue. Its cause may relate to source placement, surface treatment, geometry, exposure, or an intentionally simplified representation.
More room spill means better lighting
Room spill may support the intended presentation, but the render cannot establish whether physical distribution suits a room or installation.
A realistic image is ready for technical approval
Visual plausibility and technical readiness are separate checkpoints. The image can support design communication while output, glare, installation, safety, compliance, and production questions remain open.
What to Request Before Production Review
The request should match the decision under review. For emission and diffuser comparisons, the package may include:
- Approved reference images and usage records
- A clear statement of the intended luminous-surface appearance
- Material or diffuser samples
- Component placement drawings or sections
- Intended viewing angles
- Photometric information when output or distribution matters
- Colour and finish references where light affects material appearance
- Specialist input for glare, installation, safety, thermal, structural, or compliance questions
- A note identifying which parts of the render are illustrative
The exact package depends on the product and development stage. The comparison supports a handoff; it does not define a universal production checklist.
A Compact Comparison Note
A useful approval note can follow this pattern:
Direction A shows a broad diffuser glow with restrained room spill. Direction B shows stronger apparent brightness and a visible hotspot near the upper edge. A supports the specified continuous surface; B gives the fixture more visual presence but leaves source placement unresolved. Confirm the diffuser material, internal optical arrangement, and intended output or distribution through the appropriate technical records before production review.
The note compares named criteria, ties them to the brief, and identifies the next dependency. It does not claim that either render predicts finished-product behaviour.
Final Decision Frame
Use a lighting render comparison to decide how the fixture should read in the image and which visual direction serves the room, collection, or presentation purpose.
Judge glow strength, diffuser spread, hotspot visibility, surface evenness from the selected view, edge response, apparent brightness against the room, room spill, scale cues, and unresolved component placement.
When the brief concerns measured output, light distribution, glare, colour measurement, energy behaviour, installation, safety, compliance, or manufacturability, request the relevant record and qualified review. The render shows the intended appearance; the handoff identifies what remains to be checked.
Sources
- Emission Shader - Blender Manual
- Photometric Data - Illuminating Engineering Society
- LED Lighting
- Comparison of luminous intensity distributions
- Assessing glare. Part 2: Modifying Unified Glare Rating for uniform and non-uniform LED luminaires
- Photometric and colorimetric analysis of light emitting diode luminaires for interior lighting design
- Top Efficacy Performers: An Investigation into High-Achieving LED Luminaires